[1/2]Provision EC2 web server by Terraform and Ansible
Terraform and Ansible are powerful tools on managing your cloud infrastructure. They can provision the resources and install necessary…
First published on Medium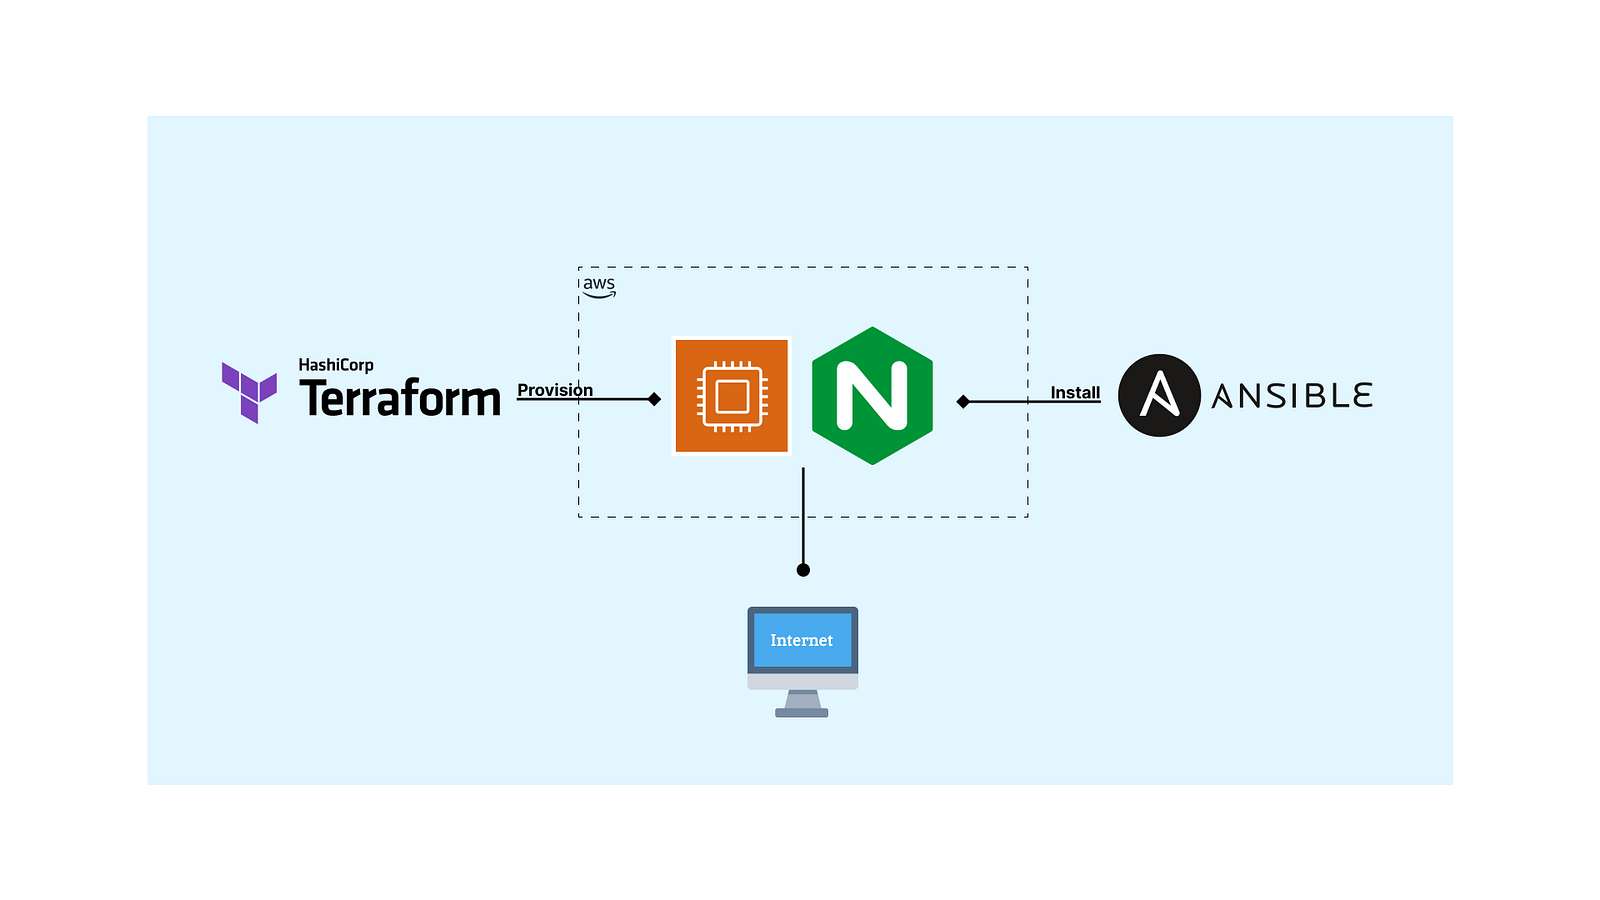
Terraform and Ansible are powerful tools on managing your cloud infrastructure. They can provision the resources and install necessary packages according to your needs. Also providing scalability from their nature as you can provision identical infrastructure anytime and anywhere with same set of scripts.
In this story, we will use Terraform to create an EC2 instance exposed port 80 and 22 with all necessary AWS resources. Then, install and start the nginx service by Ansible.
Demo GitHub repository
GitHub - yukccy/web-server-by-terraform-and-ansible: Provision EC2 web server by Terraform and…Provision EC2 web server by Terraform and Ansible. Contribute to yukccy/web-server-by-terraform-and-ansible development… github.comPlease clone this demo repository from GitHub.
Requirements
- An AWS Account (Open new account)
- Terraform installed in your machine (Official tutorial)
- Ansible installed in your machine (Official tutorial)
- AWS CLI installed in your machine (Official tutorial), and configured your credentials on the executing machine like
aws configure.
As we need some paid services provided by AWS, you should expect there will be a small charge following the steps. In my case, it would be few dollars maximum if you destroy all the resources at the end.
Generate a pair of SSH key
As the EC2 instance created by Terraform will be authenticated by SSH key pair, you need to create one RSA or ED25519 key for Ansible. We will use RSA as example.
Use the following command to start the generation process,
ssh-keygen -t rsa
We can simply press enter to apply all default value. When the generation process completes, your key pair will be located under~/.ssh named id_rsa and id_rsa.pub . id_rsa will be the private key and id_rsa.pub will be the public key.
Run cat ~/.ssh/id_rsa.pub and you will see something starting with ssh-rsa xxxxxx .
If you plan to use your own key pair, please update the path to your private key under
web-server-by-terraform-and-ansible/ansible/inventory.template. There is a variable namedansible_ssh_private_key_file
Prepare terraform.tfvars
.tfvars is a Terraform variable definition file format. We will create a terraform.tfvars to store the variable value.
Assumed you have cloned the demo GitHub repository.
cdtoweb-server-by-terraform-and-ansible/terraform- Create a new file named
terraform.tfvarsand add following line
ec2_keypair_public_key = "<Public key value>"
Replace <Public key value> with the public key value you got from previous step.
Execution
Assumed you have cloned the demo GitHub repository.
Now, we will firstly create the AWS resources by Terraform.
- Make sure you are now under
web-server-by-terraform-and-ansible/terraformdirectory - Run
terraform initto initialize Terraform dependencies - Run
terraform planto get the list of resources which will be created - Run
terraform apply --auto-approveto create those resources on AWS
After successful execution, there will be a new file named inventory located in your ../ansibledirectory. Please do not delete it as it will be the inventory file for the Ansible playbook.
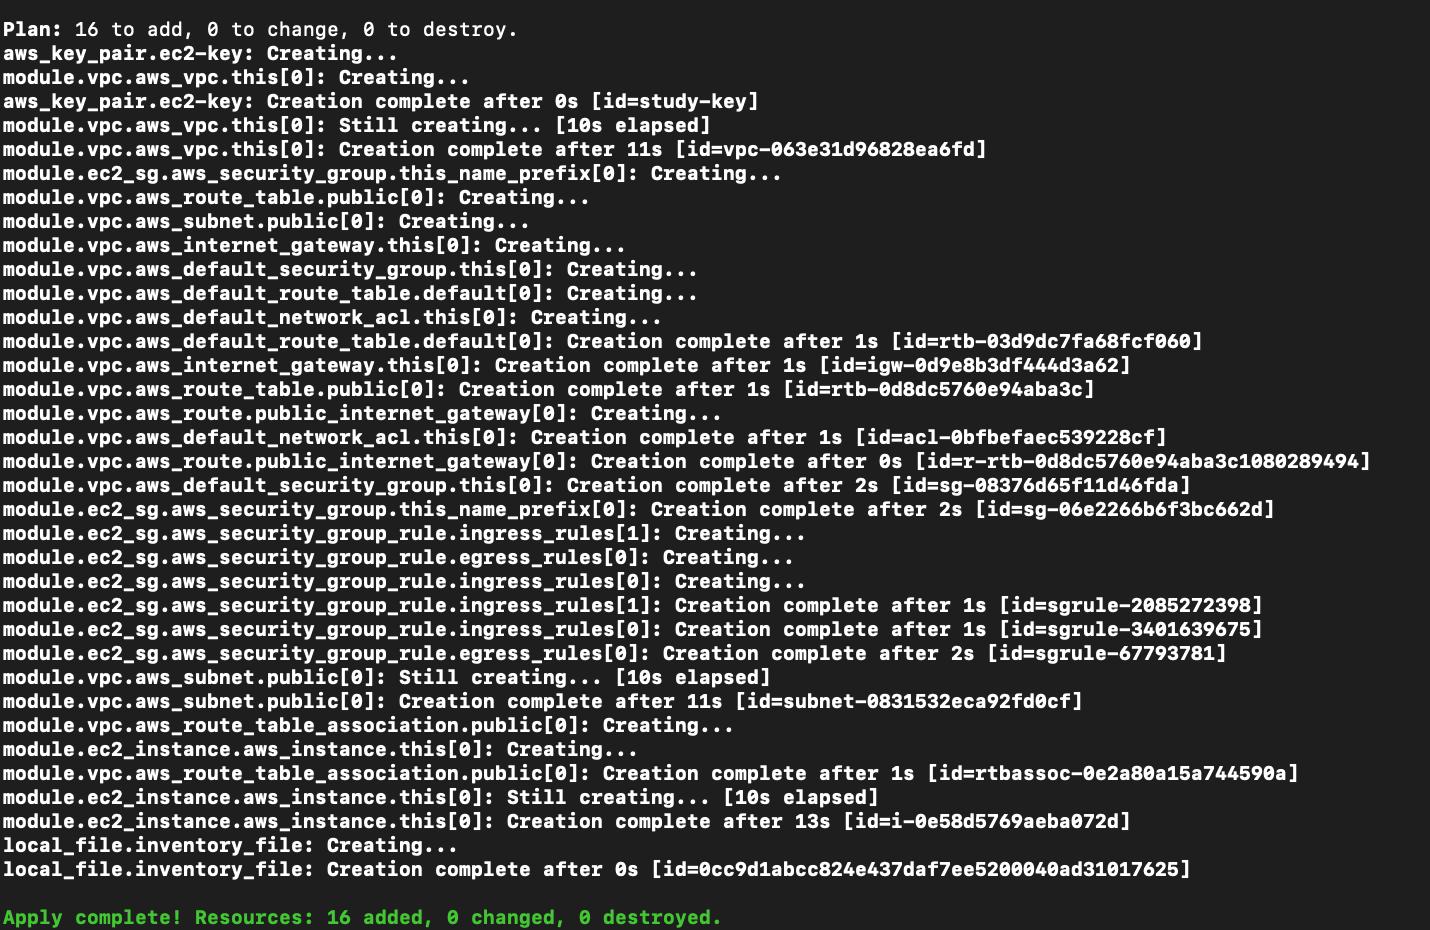
Example output of a successful terraform apply
Then, we will install and start nginx by Ansible.
- Go to directory
web-server-by-terraform-and-ansible/ansible - Check if a file named
inventoryexists. If not, previous terraform execution maybe got wrong - Run
ansible-playbook -i inventory install_nginx.yamlto install and start nginx
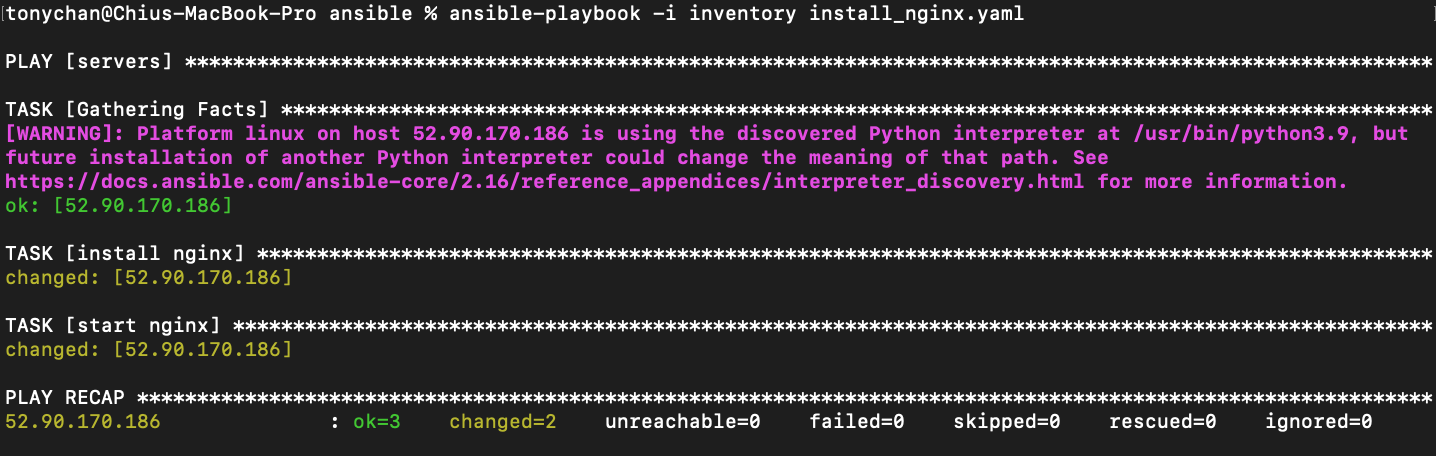
Example output of a successful ansible-playbook execution
Result
You can access http://<public-ip-of-ec2-instance>:80 and a default nginx landing page should be shown.
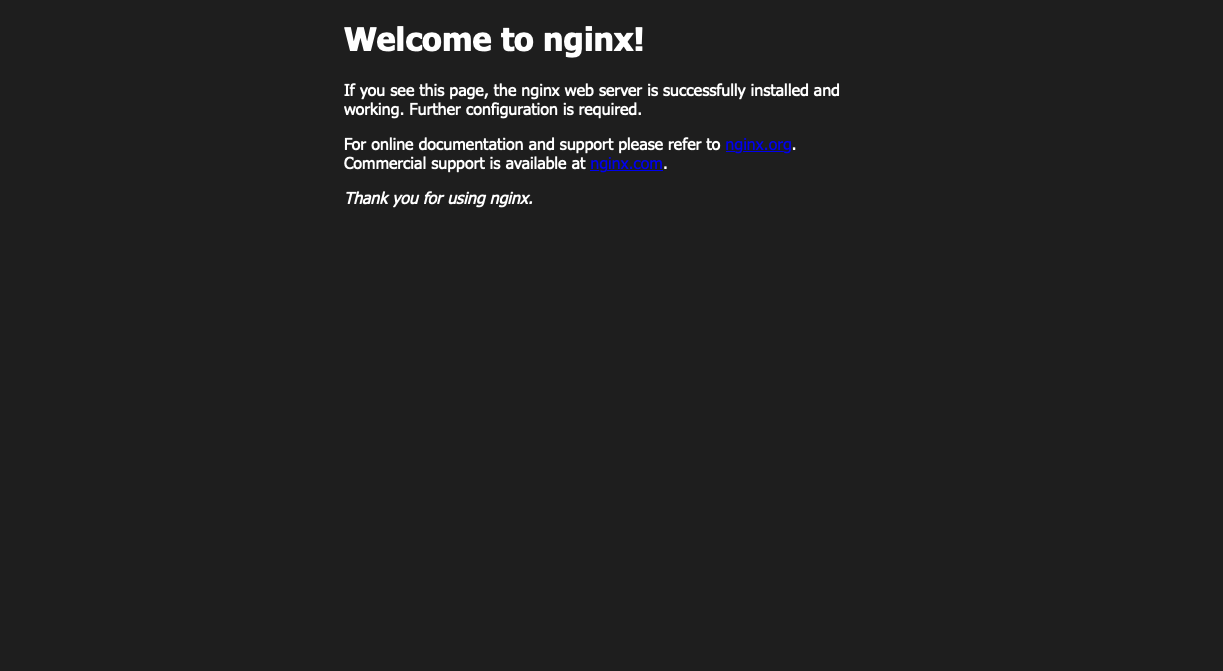
Example of nginx default landing page
Post execution
As mentioned at the beginning, you need to destroy everything created by Terraform to prevent extra cost.
Execute terraform destroy --auto-approve under web-server-by-terraform-and-ansible/terraform.
Make sure everything has been deleted on AWS console.
Next story, we will see how to automate all these provisions and installations by GitHub Actions.